We use affiliate links. If you purchase something using one of these links, we may receive compensation or commission.
Homemade pickles are a delightful way to preserve the harvest and enjoy crisp, flavorful cucumbers year-round. This recipe takes you back to the pioneer days, using simple ingredients and methods that anyone can follow. Whether you’re a seasoned canner or a beginner, you’ll find this guide easy to follow and incredibly rewarding.
- ULTIMATE CANNING STARTER KIT: All the canning supplies you’ll ever need; canning tongs, jar wrench, jar grabber, magnetic lid lifter, jar funnel, bubble popper, canning labels, and 6 canning lids. MASON JARS NOT INCLUDED
A Nostalgic Beginning
I remember the first time I made pickles with my grandmother. Her kitchen was filled with the aroma of vinegar and fresh dill, and her stories of how her mother used to make pickles during the Great Depression added a sense of history and tradition to the process. “Making pickles is not just about preserving food,” she would say. “It’s about preserving memories.” Those afternoons spent canning with her are some of my most cherished memories, and I’m excited to share this timeless tradition with you.
Choosing the Right Cucumbers
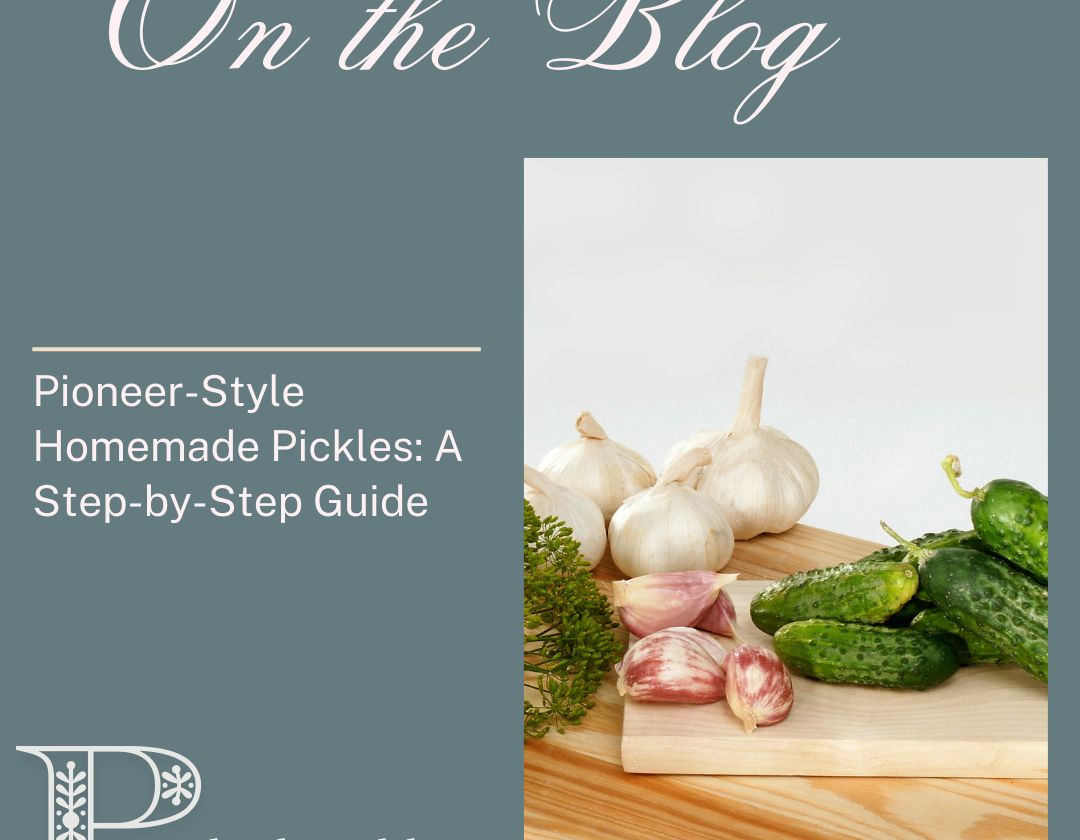
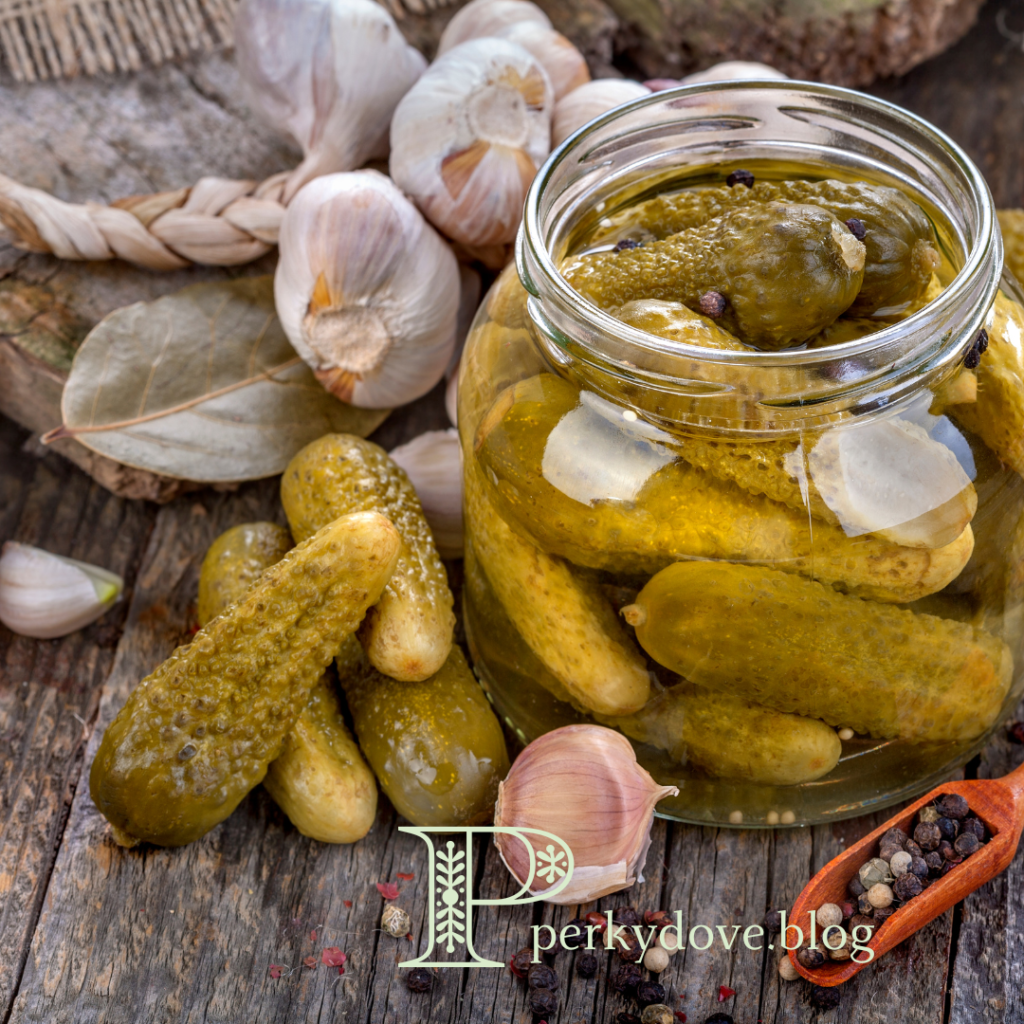
For the best pickles, use pickling cucumbers. These are typically smaller and firmer than regular cucumbers, ideal for pickling. You can grow them yourself or find them at farmers’ markets and grocery stores. Aim for cucumbers that are 3-5 inches long. Varieties like Monika and Early Fortune cucumbers are excellent choices.
Safe and easy-to-use Press & Forget technology automates preheating and processing steps at the push of a button to eliminate wasted time watching the pot.
Reflecting on my own journey with pickling, I find inspiration in the words of my grandmother. She often said, “There’s a special kind of magic in turning fresh vegetables into something that lasts. It’s like bottling up a piece of the season.”
The first time I made pickles on my own, I remember feeling a mix of excitement and nervousness. I had all the ingredients laid out, my jars sterilizing in the canner, and the smell of vinegar filling the kitchen. As I carefully packed the cucumbers into the jars and poured the hot brine over them, I could hear my grandmother’s voice guiding me through each step.
Preparing the Cucumbers
- Harvest and Clean:
- Pick your cucumbers a day or two before canning.
- Wash them thoroughly and trim the ends.
- Store the cucumbers in the refrigerator for a day or two. This process, known as cold packing, helps keep the pickles firm and crisp. Alternatively, you can submerge them in ice water for several hours before pickling.
Ingredients
- 5 pounds pickling cucumbers
- 1-3 tsp mustard seed
- 1-3 tsp dill seed
- 8-12 whole garlic cloves
- 3 cups apple cider vinegar
- 6 cups water
- 3 Tbsp pickling salt
- 4+ fresh dill heads (optional)
- 4 fresh grape leaves (optional, helps keep pickles crisp)
- Canning jars with 2-part lids
- Water bath canning supplies
Mason Jar Vacuum Sealer, Electric Mason Genie Vacuum Sealer Kit with Wide & Regular Mouth Mason lids, 2024 Upgrade Smart Vacuum Sealing for Jars with Can Opener, Regular and Wide Mouth Mason Jar L...
Instructions
- Sterilize Jars and Lids:
- Fill your water bath canner with water and place the cleaned jars inside. Bring the water to a boil to sterilize the jars.
- In a small saucepan, place the lids (not the rings) in a small amount of water. Heat to soften the seals and sterilize the lids.
- Prepare the Brine:
- In a stockpot, combine 6 cups of water, 3 cups of apple cider vinegar, and 3 tablespoons of pickling salt. Heat over medium-high heat until hot but not boiling.
- Prepare the Cucumbers:
- While the brine is heating, peel the garlic and slice the cucumbers into the desired shapes (chips, spears, or leave them whole).
- Fill the Jars:
- Remove the jars from the canner one at a time as you fill them.
- Place 1/2-1 teaspoon of mustard seed and dill seed into each quart jar, along with 2-3 garlic cloves. Adjust these amounts if using pint jars.
- Pack the cucumbers into the jars tightly.
- Pour the hot brine over the cucumbers, leaving 1-inch headspace at the top.
- Add fresh dill heads and grape leaves if desired.
- Seal and Process:
- Place a sterilized lid on each jar and screw on the ring until hand-tight.
- Place the jars back into the canner, ensuring the water level covers the jars by at least 1 inch.
- Bring the water to a full boil and process the jars for 15 minutes.
- Cool and Store:
- After processing, turn off the heat and let the jars sit in the canner for 5 minutes.
- Remove the jars and let them cool completely on the counter.
- Check the seals. The lids should be down and not popped up. If a jar didn’t seal, store it in the fridge.
- Wait and Enjoy:
- For the best flavor, let the pickles sit for at least a month before opening.
Tips for Perfect Pickles
- Using apple cider vinegar gives the brine a cloudy appearance, but it enhances the flavor.
- Patience is key. The longer the pickles sit, the better they taste.
“Remember, the secret to great pickles is all in the preparation,” she would say. “Take your time, make sure everything is just right, and you’ll end up with something amazing.” And she was right. When I finally opened that first jar a month later, the pickles were crisp, tangy, and full of flavor—just like the ones she used to make.
A Final Thought
As you embark on your pickling journey, remember the words of my grandmother: “In every jar of pickles, there’s a little bit of love, a pinch of patience, and a whole lot of history.” Making your own pickles is a satisfying way to enjoy fresh, homemade flavors all year long. This simple recipe, inspired by pioneer methods, ensures crisp, delicious pickles that you can be proud of. Happy canning!
- Package Includes: 4 different floral designs, 15 sheets, 300 canning labels stickers. Each lid labels is 2 inches in diameter.
Storage and Shelf Life of Homemade Pickles
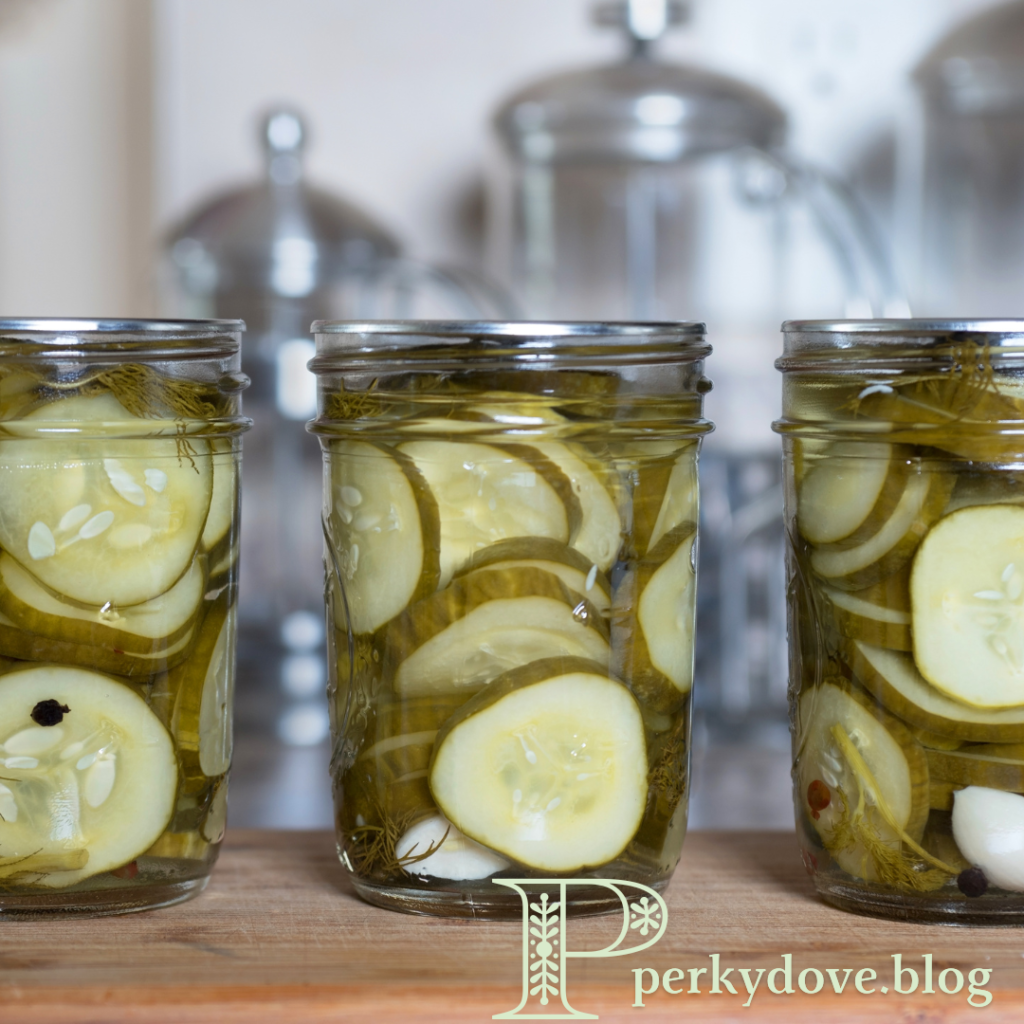
Once your pickles have cooled and the seals are properly set, it’s important to store them correctly to ensure they stay fresh and flavorful. Keep your sealed jars in a cool, dark place such as a pantry or a cellar. Properly canned pickles can last up to a year, maintaining their crispness and taste.
For the best flavor, wait at least a month before opening a jar. This allows the flavors to fully develop. Once opened, store the jar in the refrigerator and consume within a few months for optimal freshness. Always check for any signs of spoilage, such as a bulging lid or off-smell, before consuming.
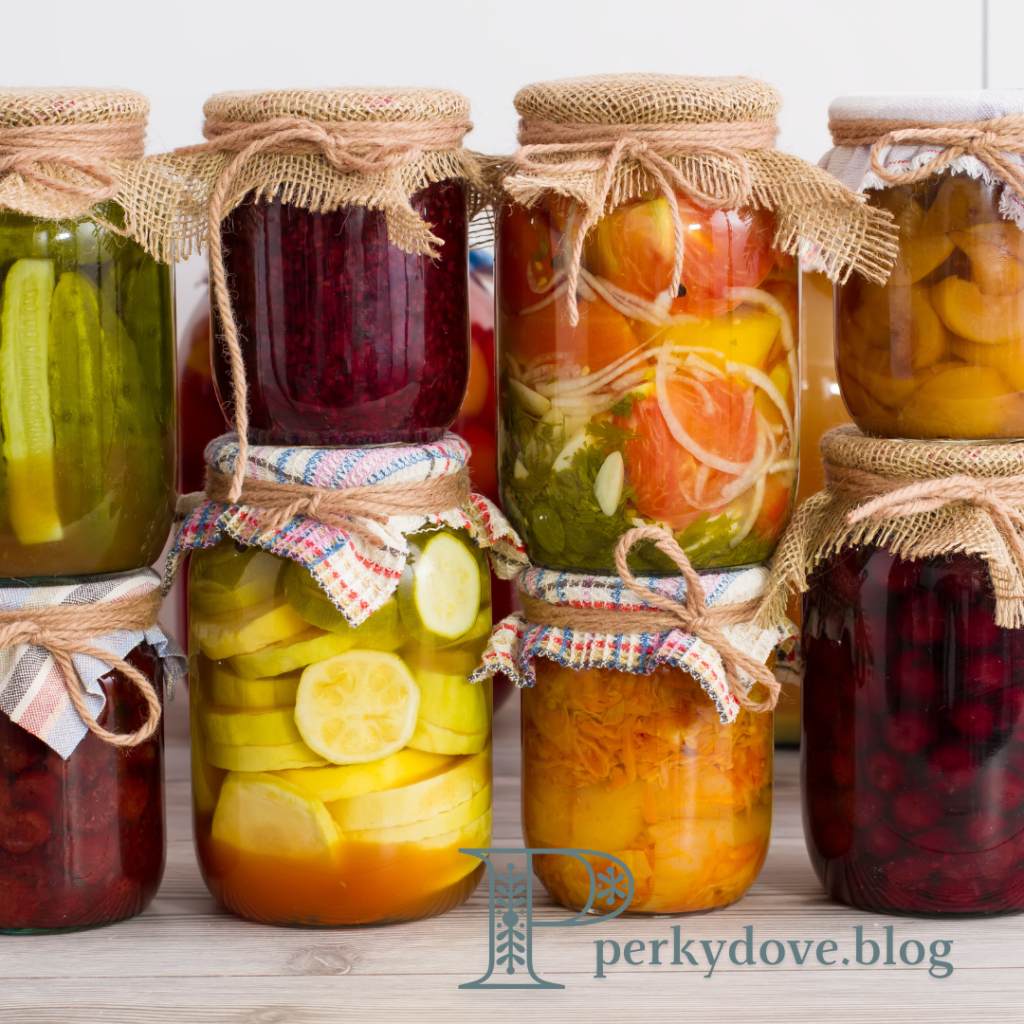
- PREMIUM QUALITY JARS: Our 16 oz mason jars with lids are BPA-free and lead-free. 100% food grade glass and its high visibility allowing you to easily see the content inside canning jars. The airtight containers are durable and sturdy enough for your everyday home use.
Another piece of advice that stuck with me was from a friend who’s an experienced canner. She told me, “Don’t be afraid to experiment with flavors. Pickling is as much an art as it is a science.” This led me to add a few red pepper flakes to some jars for a spicy kick, and fresh dill heads to others for a burst of herbal freshness. Each variation brought its own unique twist to the classic pickle.
Now it’s your turn to create your own kitchen memories and delicious pickles. Gather your ingredients, roll up your sleeves, and start canning today! Share your pickling adventures and any unique twists you’ve added in the comments below. Let’s preserve not just food, but tradition and joy together.
