We use affiliate links. If you purchase something using one of these links, we may receive compensation or commission.

Introduction
Canning and preserving are essential skills for any homesteader, allowing you to enjoy the fruits of your labor year-round. These age-old techniques help prevent waste, save money, and ensure that your pantry is stocked with delicious, home-grown produce. In this post, we’ll explore the basics of canning and preserving, offering tips and techniques to get you started on your homesteading journey.
The Basics of Canning
Water Bath Canning
- Best for: High-acid foods like fruits, tomatoes, and pickles.
- Instructions:
- Sterilize your jars and lids by boiling them in water.
- Prepare your food by washing, peeling, and cutting as necessary.
- Fill the jars with food, leaving about 1/2 inch of headspace at the top.
- Wipe the rims of the jars clean, place the lids on top, and screw on the bands until fingertip tight.
- Process the jars in a boiling water bath for the time specified in your recipe.
- Remove the jars and let them cool. Check the seals before storing.
Product Recommendation:
- ULTIMATE CANNING STARTER KIT: All the canning supplies you’ll ever need; canning tongs, jar wrench, jar grabber, magnetic lid lifter, jar funnel, bubble popper, canning labels, and 6 canning lids. MASON JARS NOT INCLUDED
Step Back in Time: Preparing for Winter
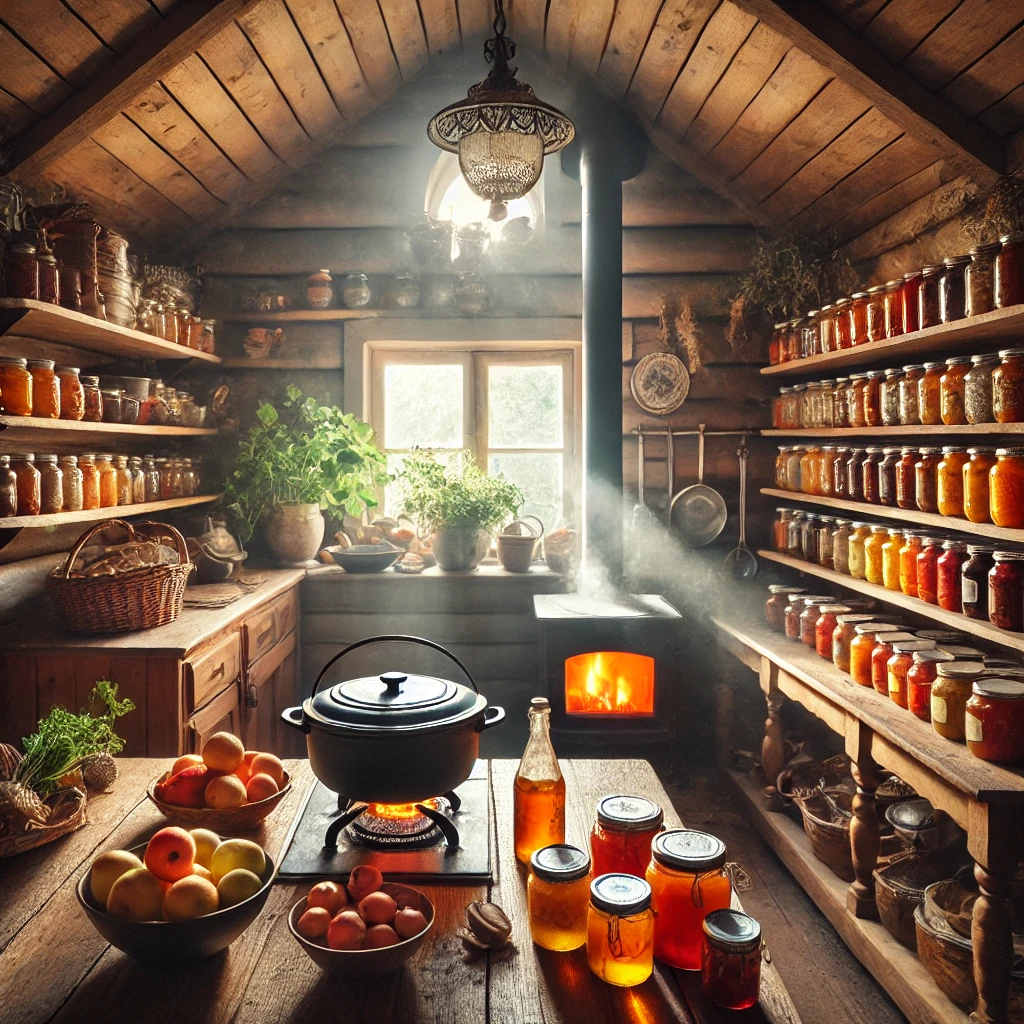
Imagine the pioneers as they prepared for the harsh winter months. In the warm glow of their kitchens, they worked tirelessly to preserve the bounty of the summer and fall harvests. Rows of glass jars filled with vibrant fruits and vegetables lined the shelves, a testament to their hard work and foresight. The process of canning was not just about preserving food, but about ensuring the survival and well-being of their families through the long, cold months ahead.
As you engage in canning today, you connect with this tradition of preparation and care. Each jar you fill is a link to the past, a promise of sustenance and warmth for the future.
Pressure Canning
- Best for: Low-acid foods like vegetables, meats, and soups.
- Instructions:
- Sterilize your jars and lids by boiling them in water.
- Prepare your food and fill the jars, leaving about 1 inch of headspace.
- Wipe the rims of the jars clean, place the lids on top, and screw on the bands until fingertip tight.
- Place the jars in a pressure canner and add water according to the manufacturer’s instructions.
- Process the jars at the specified pressure and time for your recipe.
- Allow the canner to cool before removing the jars. Check the seals before storing.
Product Recommendation:
Safe and easy-to-use Press & Forget technology automates preheating and processing steps at the push of a button to eliminate wasted time watching the pot.
Step Back in Time: A Community Effort
Canning and preserving were often communal activities in pioneer times. Families and neighbors would gather together, sharing the workload and the fruits of their labor. These gatherings were filled with laughter, storytelling, and a deep sense of community. The rhythmic sounds of chopping, boiling, and sealing filled the air, creating a symphony of productivity and camaraderie.
Today, you can revive this sense of community by involving friends and family in your canning efforts. Share recipes, tips, and the joy of preserving together, creating new memories while honoring the old.
Drying and Dehydrating
Drying and dehydrating are simple methods of preserving a wide variety of foods, from fruits and vegetables to herbs and meats. Here’s how to get started:
Using a Dehydrator
- Best for: Fruits, vegetables, herbs, and jerky.
- Instructions:
- Wash and slice your food into uniform pieces.
- Arrange the slices on the dehydrator trays, leaving space between each piece.
- Set the dehydrator to the appropriate temperature for your food.
- Dry the food until it’s crisp and brittle. This can take several hours to a few days, depending on the food and the humidity.
- Store the dried food in airtight containers in a cool, dark place.
Product Recommendation:
COSORI Food Dehydrator for Jerky, 176°F Temperature Control, 5 Stainless Steel Trays Dryer Machine, 4 Presets, 48H Timer, for Dog Treats, Meat, Fruit, Veggies, Snacks, Recipe Book Included
Oven Drying
- Best for: Small batches of fruits, vegetables, and herbs.
- Instructions:
- Wash and slice your food into uniform pieces.
- Arrange the slices on baking sheets lined with parchment paper.
- Set your oven to the lowest temperature and prop the door open slightly to allow moisture to escape.
- Dry the food until it’s crisp and brittle, checking frequently to avoid over-drying.
- Store the dried food in airtight containers in a cool, dark place.
Step Back in Time: The Drying Season
During the drying season, pioneers would take advantage of the sun and dry air to preserve their harvest. Thin slices of apples, strips of meat, and bundles of herbs would be carefully arranged and left to dry in the warm sun. This process not only extended the life of their food but also intensified the flavors, creating delicious snacks and ingredients for the winter months.
Incorporating drying and dehydrating into your homesteading routine allows you to experience this connection to nature and tradition. The simple act of drying food is a reminder of the ingenuity and resourcefulness of the pioneers.

Conclusion
Canning and preserving are timeless skills that allow you to make the most of your harvest and enjoy delicious, home-grown produce year-round. Whether you’re new to these techniques or a seasoned pro, there’s always something new to learn and discover. So roll up your sleeves, gather your supplies, and start preserving the bounty of your homestead.
Ready to learn more? Explore our blog for additional tips and techniques on homesteading, gardening, and sustainable living.




[…] Canned goods offer essential nutrients when fresh produce is unavailable. Estimate how many cans your family consumes weekly. For a 2-year supply, you’ll need around 1,500-2,000 cans per person. Rotate cans to use the oldest first. Learn to can your own produce to avoid preservatives. […]