We use affiliate links. If you purchase something using one of these links, we may receive compensation or commission.
As the warm days of summer begin to fade, I often find myself with an abundance of fresh produce. Whether it’s from my own garden or a trip to the local farmer’s market, the bounty of summer is something I cherish. One of my favorite ways to preserve this harvest is through canning. This time-honored method not only allows me to enjoy the flavors of summer throughout the year but also connects me to the homesteading traditions of the past. In this guide, I’ll walk you through the essentials of canning and share some of my classic recipes to get you started.
Getting Started with Canning
Canning is a method I use to preserve food by sealing it in airtight containers, usually glass jars, and then heating it to destroy any microorganisms that could cause spoilage. There are two primary methods I rely on: water bath canning and pressure canning.
-
Water Bath Canning: This is my go-to method for high-acid foods like fruits, pickles, and tomatoes. I submerge the jars in boiling water for a set time, which is enough to kill bacteria and keep the food safe.
-
Pressure Canning: For low-acid foods like vegetables, meats, and soups, I use pressure canning. This method heats the jars to a higher temperature, ensuring that harmful bacteria, like Clostridium botulinum, are destroyed.
- PREMIUM QUALITY JARS: Our 16 oz mason jars with lids are BPA-free and lead-free. 100% food grade glass and its high visibility allowing you to easily see the content inside canning jars. The airtight containers are durable and sturdy enough for your everyday home use.
Essential Tools and Equipment:
- Canning Jars: I always use Mason jars with new lids and bands.
- Canning Rack: This keeps the jars from touching the bottom of the pot during processing.
- Jar Lifter: To safely remove hot jars from the canner.
- Funnel: This helps me pour food into jars without making a mess.
- Bubble Remover/Headspace Tool: To remove air bubbles and measure headspace.
- Pressure Canner/Water Bath Canner: Depending on what I’m canning, I use one or the other.
Preparing Your Produce
The quality of my canned goods always starts with the produce I choose. I make sure to select ripe, fresh fruits and vegetables that are free from blemishes and bruises. Before anything else, I thoroughly wash all my produce to remove dirt, bacteria, and any pesticide residues.
Tips for Preparing Produce:
- Peeling: Some recipes require peeling the skin off fruits like peaches or tomatoes. I find that a quick dip in boiling water followed by an ice bath makes peeling much easier.
- Chopping: I cut the produce into uniform pieces to ensure even cooking and a consistent texture in my canned goods.
- Blanching: For certain vegetables, I blanch them (briefly boiling and then cooling) to help preserve their color, texture, and flavor.
- ULTIMATE CANNING STARTER KIT: All the canning supplies you’ll ever need; canning tongs, jar wrench, jar grabber, magnetic lid lifter, jar funnel, bubble popper, canning labels, and 6 canning lids. MASON JARS NOT INCLUDED
Classic Canning Recipes
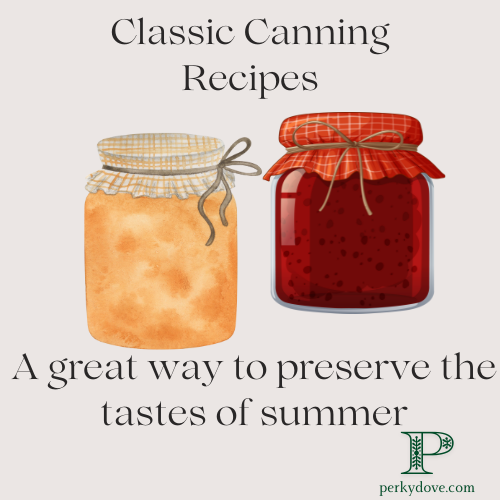
Now that the basics are covered, I’m excited to share some of my favorite canning recipes. These classics are a great way to preserve the tastes of summer.
Strawberry Jam:
- Ingredients: 5 cups strawberries, 7 cups sugar, 1 packet pectin, ½ teaspoon butter (optional, to reduce foaming).
- Instructions:
- I start by crushing the strawberries in a large bowl.
- In a pot, I combine the crushed berries and pectin, bringing the mixture to a rolling boil.
- Then, I add sugar all at once, stirring constantly until it returns to a full boil. I let it boil for exactly 1 minute.
- After removing it from the heat, I skim off any foam if needed, and ladle the jam into prepared jars, leaving ¼ inch headspace.
- Finally, I process the jars in a water bath canner for 10 minutes.
Dill Pickles:
- Ingredients: 8 pounds cucumbers, 4 cups white vinegar, 4 cups water, ½ cup pickling salt, 4 garlic cloves, 8 heads of fresh dill.
- Instructions:
- First, I wash the cucumbers and cut them into spears or slices.
- In a pot, I combine vinegar, water, and salt, bringing it to a boil.
- I pack the cucumbers, garlic, and dill into jars, leaving ½ inch headspace.
- I pour the hot brine over the cucumbers, ensuring they are fully submerged.
- Then, I process the jars in a water bath canner for 10 minutes.
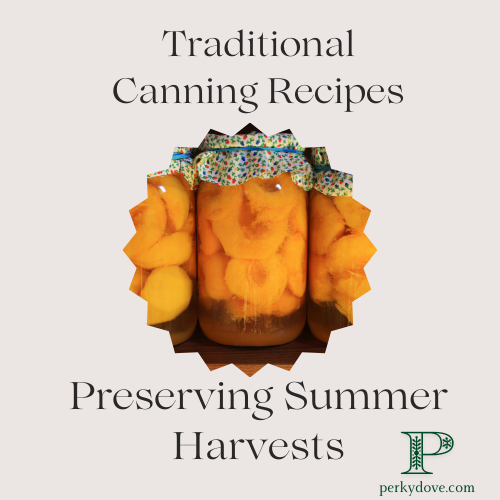
Peach Preserves:
- Ingredients: 4 pounds peaches, 4 cups sugar, ¼ cup lemon juice, 1 packet pectin.
- Instructions:
- I start by peeling, pitting, and slicing the peaches.
- In a pot, I combine the peaches and lemon juice, then gradually stir in the pectin.
- I bring the mixture to a full boil, then add sugar, stirring until it’s dissolved.
- I let it boil hard for 1 minute before removing it from the heat.
- Finally, I ladle the preserves into jars, leaving ¼ inch headspace, and process them in a water bath canner for 10 minutes.
- Package Includes: 4 different floral designs, 15 sheets, 300 canning labels stickers. Each lid labels is 2 inches in diameter.
Canning Safety Tips
Safety is always my top priority when it comes to canning. I know that improper canning can lead to foodborne illnesses, so I’m meticulous about following guidelines.
Key Safety Tips:
- Follow Tested Recipes: I always stick to recipes from reliable sources like the USDA or university extension services to ensure safe canning practices.
- Check Your Seals: After the jars have cooled, I check that the lids have sealed by pressing the center. If it pops back, the jar isn’t sealed and should be refrigerated and used within a few days.
- Store in a Cool, Dark Place: Proper storage is crucial for the longevity of my canned goods. I avoid areas with direct sunlight or extreme temperatures.
- Label Your Jars: I include the date and contents on each jar so I can use older jars first.
Fullstar All-in-1 Vegetable Chopper, - French Fry Cutter & Veggie Dicer - Includes Bonus Handheld Spiralizer - Cook's Tool & Gadget Sets (6 in 1, Blac..
Storing and Enjoying Your Canned Goods
Once I’ve successfully canned my produce, I make sure to store the jars in a cool, dark place, like a pantry or basement, where temperatures stay consistent. Most canned goods will last for up to a year when stored properly.
Using Your Canned Goods:
- Creative Cooking: I love incorporating my homemade tomato sauce into pasta dishes, using peach preserves as a topping for pancakes, or enjoying dill pickles as a crunchy side.
- Gift Giving: Canned goods make thoughtful, homemade gifts during the holidays or for special occasions.
- Stocking Your Pantry: With a variety of canned goods on hand, I always have ingredients for quick meals and snacks.
Conclusion:
For me, canning is more than just a method of food preservation; it’s a way to honor the harvest and maintain a connection to the land. By preserving the bounty of summer, I’m not only stocking my pantry but also carrying on a tradition that has been a cornerstone of homesteading for generations. Whether you’re new to canning or looking to expand your repertoire, these traditional recipes will help you savor the flavors of summer all year long.
- 10 Pack Dishwasher Safe Freezer Bags, BPA Free Reusable Bags Silicone, Leakproof Reusable Lunch Bag for Salad Fruit Travel - 2 Gallon 4 Sandwich 4 Snack Bags


