Perky Dove Coffee

Get my newsletter, tips, deals, and the Seven Small Easy Habits that changed my life. CLICK HERE to become a VIP member!

Blog Candle Making DIY and Home Practices Gift Ideas Homesteading Homesteading Traditions How To Natural Home Natural Living

The Ultimate Guide to Candle Making: Step-by-Step Instructions for Beginners and Experienced Crafters

We use affiliate links. If you purchase something using one of these links, we may receive compensation or commission.

Introduction

I’ve always loved the warm, cozy glow of a candle flickering in my home. There’s something incredibly satisfying about creating that comforting light yourself, from scratch. Candle making is a craft that blends creativity with practicality, and the best part? It’s accessible to everyone, whether you’re a seasoned homesteader or a beginner looking to try something new.

I remember the first time I made a candle. It wasn’t perfect—far from it, actually—but the process was so enjoyable that I was instantly hooked. Over the years, I’ve refined my techniques and learned a lot about what works (and what doesn’t). In this guide, I’ll walk you through the entire process of making your own candles, sharing tips and tricks I’ve picked up along the way. Let’s dive in!

Complete Candle Making Kit
$22.99

Complete Candle Making Kits for Adults Beginners, DIY Candle Making Supplies Include Soy Wax, Wax Melter, Scents, Dyes, Wicks, Wicks Sticker, Candle Tins & More-Full Candle Making Set - Arts & Crafts...

We earn a commission if you make a purchase, at no additional cost to you.
10/04/2024 03:34 pm GMT

Section 1: Gathering Your Supplies

Basic Supplies Needed

Before you get started, it’s important to gather all the supplies you’ll need. When I first began, I made the mistake of starting without all my tools on hand, and it made the process much more difficult. So, here’s what you’ll need:

  • Wax: This can be beeswax, soy wax, or paraffin wax. I personally prefer soy wax because it’s eco-friendly and burns cleanly.
  • Wicks: Make sure to choose the right size wick for your container. A wick too small can cause tunneling, while a wick too large can lead to excessive flickering and soot.
  • Containers: You can use anything from mason jars to decorative tins. Just make sure they are heat-resistant.
  • Fragrance Oils or Essential Oils: Adding a scent to your candles makes them even more special. I love using lavender essential oil for a relaxing aroma.
Scented Candles Making Kit
$49.97

Soft Owl Premium Soy Candle Making Kit - Full Set - Soy Wax, Big 7oz Jars & Tins, 7 Pleasant Scents, Color Dyes & More - Perfect as Home Decorations - DIY Starter Scented Candles Making Kit

We earn a commission if you make a purchase, at no additional cost to you.
10/04/2024 03:33 pm GMT
  • Colorants: Optional, but fun! Natural colorants like mica powders can give your candles a subtle tint.
  • Double Boiler or Microwave-Safe Container: This is for melting your wax.
  • Thermometer: This is crucial for ensuring your wax is at the right temperature before adding fragrance.
  • Wick Holders or Tape: These will help keep your wicks centered while the wax cools.

Choosing the Right Wax

One of the first decisions you’ll need to make is which type of wax to use. Here’s a quick breakdown:

  • Beeswax: Natural and has a long burn time. It’s perfect if you’re looking for a more traditional, natural option. I often use beeswax for my winter candles because it pairs beautifully with warm, spicy scents.
  • Soy Wax: This is my go-to for everyday candles. It’s eco-friendly, burns cleanly, and is easy to work with. Plus, it’s great for beginners!
  • Paraffin Wax: Widely available and holds fragrance well, but it’s not as environmentally friendly. I rarely use paraffin wax anymore, but it’s a good option if you’re looking for strong scents.
Master the Art of Candle Making
$6.99

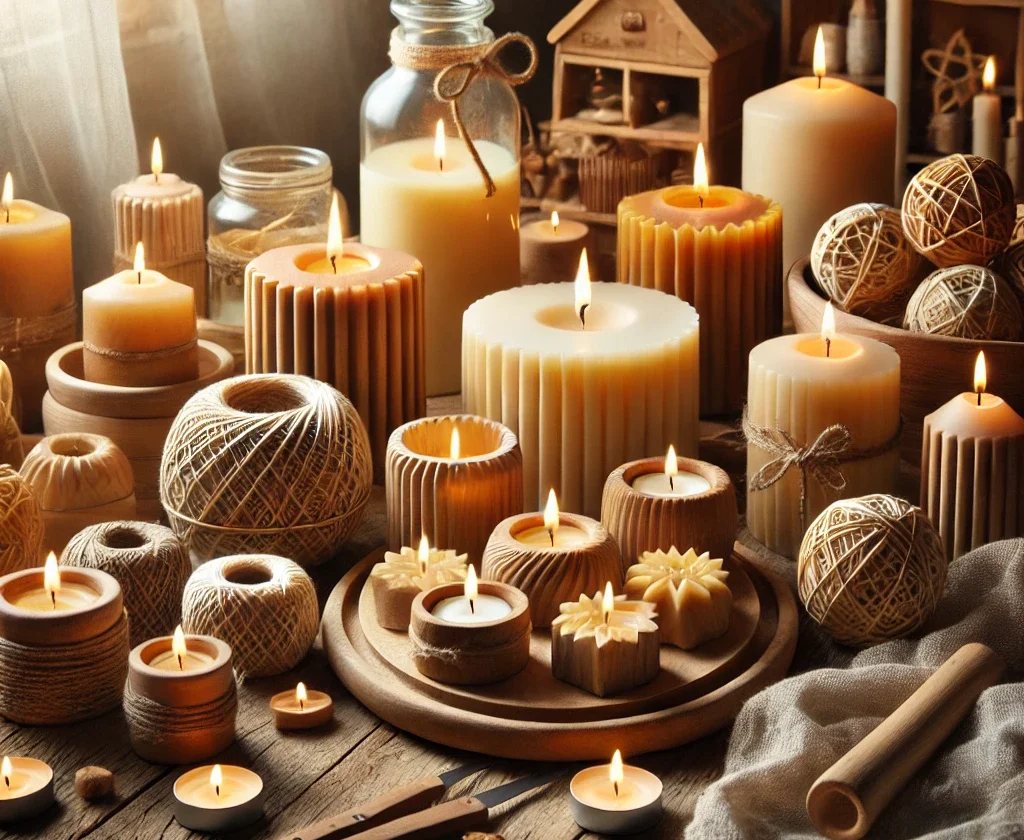
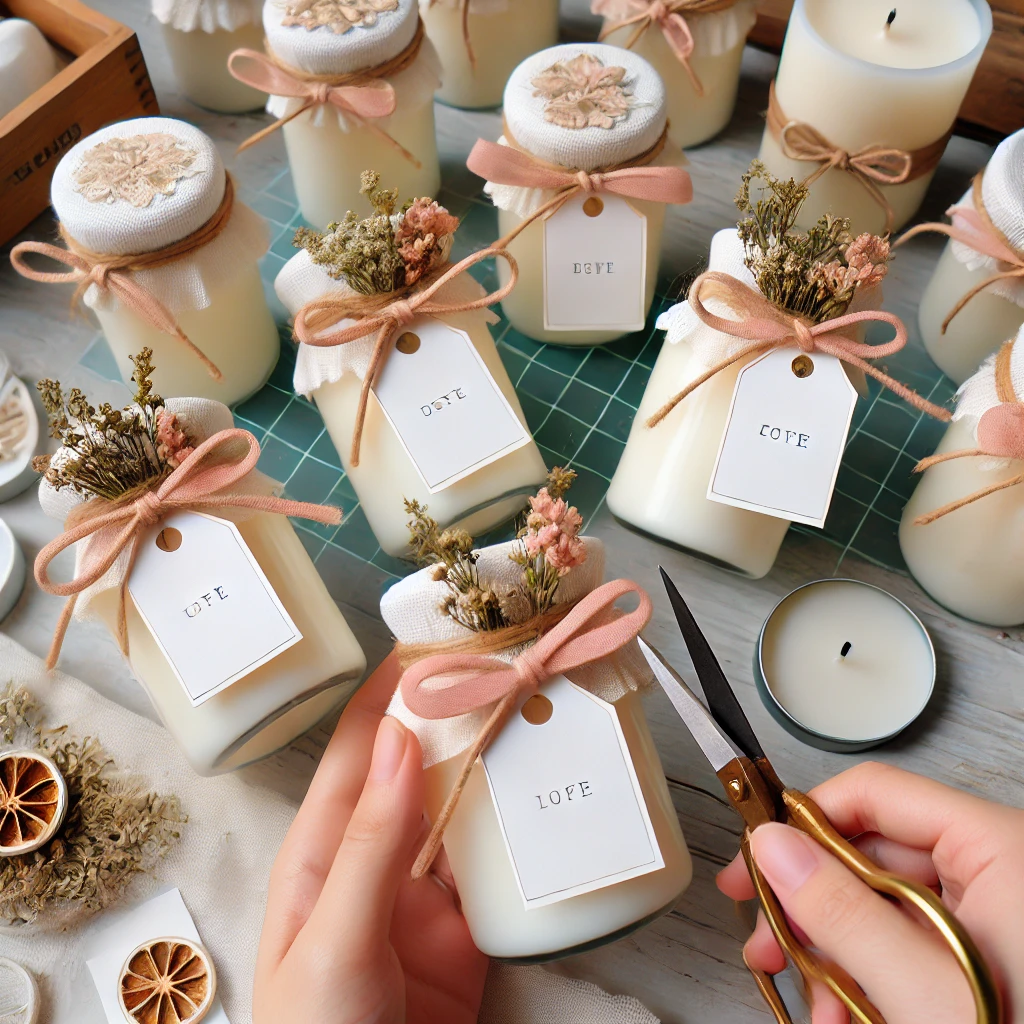
Discover the Joy of Creating Candles with Easy, Step-by-Step Instructions and Vivid Illustrations

We earn a commission if you make a purchase, at no additional cost to you.
10/04/2024 03:34 pm GMT

Section 2: Preparing Your Workstation

Setting Up Safely

Safety is key when making candles. I’ve had my fair share of spills and burns, so trust me when I say this: prepare your workspace. Make sure you’re working on a clean, flat surface, and have all your supplies within reach. I always keep a pair of heat-resistant gloves and a thermometer on hand, just in case.

Measuring Ingredients

Precision is important in candle making. Too much fragrance oil can make your candles burn unevenly, and too little can leave you with barely any scent at all. I like to use about 1 ounce of fragrance oil per pound of wax. Measure everything carefully—I use a digital scale to get it just right.

Section 3: The Candle Making Process

Melting the Wax

Start by melting your wax. I prefer using a double boiler because it gives me more control over the temperature. If you’re using a microwave-safe container, heat the wax in short bursts, stirring in between to ensure it melts evenly. Keep a close eye on the temperature; wax can easily overheat, which can ruin your candle.

I learned this the hard way when I left my wax unattended for too long. The wax overheated, and I ended up with a discolored, unpleasant-smelling mess. Now, I always use a thermometer to keep the temperature between 170°F and 180°F before adding any fragrance.

Fragrance Oils Set
$16.95

Autumn Essential Oils for Diffusers for Home, CAKKI Fragrance Oils Set, 6 Fall Scents, Natural Aromatherapy Oils, for Candles Making, for Soaps Making, for Humidifiers, 6x10 ml

We earn a commission if you make a purchase, at no additional cost to you.
10/04/2024 03:33 pm GMT

Adding Fragrance and Color

Once your wax is melted, it’s time to add your fragrance oils and colorants. Stir gently to ensure everything is well incorporated. I love experimenting with different scent combinations. One of my favorites is a mix of eucalyptus and mint—it’s incredibly refreshing.

A tip I picked up from a fellow candle maker: always add your fragrance oil when the wax has cooled slightly (to about 160°F). This helps preserve the scent, ensuring it doesn’t evaporate too quickly.

Prepping the Wicks

Before pouring the wax, you’ll need to secure your wicks in the containers. Centering the wick is crucial for an even burn. I use wick holders or simply tape the wick to a pencil laid across the top of the container. This keeps the wick in place while the wax sets.

Pouring the Wax

Now comes the exciting part—pouring the wax into your containers! Pour slowly and steadily, leaving a bit of space at the top. I find that this helps prevent cracking as the wax cools. If you notice any bubbles forming, give the container a gentle tap to release them.

Section 4: Cooling and Trimming

Allowing Candles to Set

Patience is key here. Let your candles cool completely before moving them. This can take several hours, depending on the size of the container. I usually leave mine overnight to ensure they’re fully set. Rushing this step can cause the surface to crack, which is something I learned after impatiently moving a candle too soon!

Fresh Coffee Scented Candle
$24.99

Aromatherapy Woodwick Candles for Home | Coffee Scented Candles for Home | Mothers Day Gift | Great Mothers Day Gifts

We earn a commission if you make a purchase, at no additional cost to you.
10/04/2024 03:37 pm GMT

Trimming the Wick

Once the candle is fully set, trim the wick to about 1/4 inch above the wax surface. This ensures a clean burn without excessive smoke or soot. I have a special wick trimmer that I use, but a pair of scissors works just as well.

Section 5: Decorating and Personalizing

Adding Labels and Decorations

Now that your candles are ready, it’s time to get creative with decorations. I love adding labels, ribbons, or even small dried flowers to my candles. It’s a great way to personalize them, especially if you’re giving them as gifts. I still remember the joy on my friend’s face when she received a candle I made just for her, complete with a lavender sprig and a handwritten label.

Creating Scent Combinations

This is where you can really let your creativity shine. Don’t be afraid to experiment with different scent combinations. Some of my best candles have come from unexpected mixes, like vanilla and sandalwood or orange and clove. The possibilities are endless!

Complete Candle Making Kit
$22.99

Complete Candle Making Kits for Adults Beginners, DIY Candle Making Supplies Include Soy Wax, Wax Melter, Scents, Dyes, Wicks, Wicks Sticker, Candle Tins & More-Full Candle Making Set - Arts & Crafts...

We earn a commission if you make a purchase, at no additional cost to you.
10/04/2024 03:34 pm GMT

Section 6: Candle Care Tips

Burning Your Candle Properly

To get the most out of your candles, it’s important to burn them properly. Always trim the wick before each use and allow the wax to melt evenly across the top to prevent tunneling. I’ve found that burning my candles for about 2-3 hours at a time works best.

Storing Candles

Store your candles in a cool, dark place to preserve their scent and quality. I like to keep mine in a cupboard away from direct sunlight. This helps prevent discoloration and keeps the fragrance from fading.

Conclusion

Candle making is a craft that combines artistry with practicality, and it’s a skill that anyone can learn. Whether you’re making candles for yourself or as gifts, there’s something incredibly satisfying about creating something beautiful and functional with your own hands. I hope this guide inspires you to give candle making a try. Trust me, once you start, you won’t want to stop!

So, grab your supplies and let your creativity flow. Happy candle making!

Candle Warmer Plate
$10.99

Candle Warmers Etc. Original Candle Warmer Plate (White, Plug-in) Electric Candle Wax Melter Plate for jar Candles

We earn a commission if you make a purchase, at no additional cost to you.
10/04/2024 03:33 pm GMT

Ready to Light Up Your Creativity?

Now that you’ve got the ultimate guide to candle making, it’s time to put your new skills to the test! Whether you’re crafting for relaxation, gifting, or simply to enjoy the cozy glow of a homemade candle, your next masterpiece is just a pour away.

Share your candle creations with us on social media using #PerkyDoveCandles, and let’s inspire each other! Plus, sign up for our newsletter to get more DIY tutorials, tips, and exclusive content straight to your inbox. Happy candle making!

AboutPerky Dove Coffee

Meet Linda Taylor: A Health Enthusiast, Coffee Connoisseur, and Green Thumb Extraordinaire 🌿☕

Hi there,

I'm Linda Taylor, and I'm thrilled to share a glimpse of my world with you. As a married mother of 6, grandmother of 19, and proud great-grandmother of 1, family is at the heart of everything I do.

My passion for health and wellness runs deep, and you'll often find me exploring the latest trends in fitness, nutrition, and holistic living. But there's one thing that truly fuels my soul: coffee and tea. As the owner and proprietor of Perky Dove Coffee, I've made it my mission to curate a delightful selection of brews that cater to every palate and preference.

Beyond my love for all things caffeinated, I'm also a devoted gardener with a green thumb that seems to work magic. My home is a lush oasis filled with an array of plants, each lovingly nurtured and cared for. Whether it's tending to my vegetable patch or cultivating a vibrant indoor jungle, there's something truly special about watching life bloom and thrive under my care.

Through my blog, I aim to share my passion for health, wellness, and the simple joys of life. Join me as I explore the wonders of nature, sip on a comforting cuppa, and embark on a journey towards holistic well-being.

Here's to embracing life's little pleasures and nurturing our bodies, minds, and spirits along the way.

Warmest regards,
Linda Taylor
Owner & Proprietor, Perky Dove Coffee

Leave a Reply

Your email address will not be published. Required fields are marked *