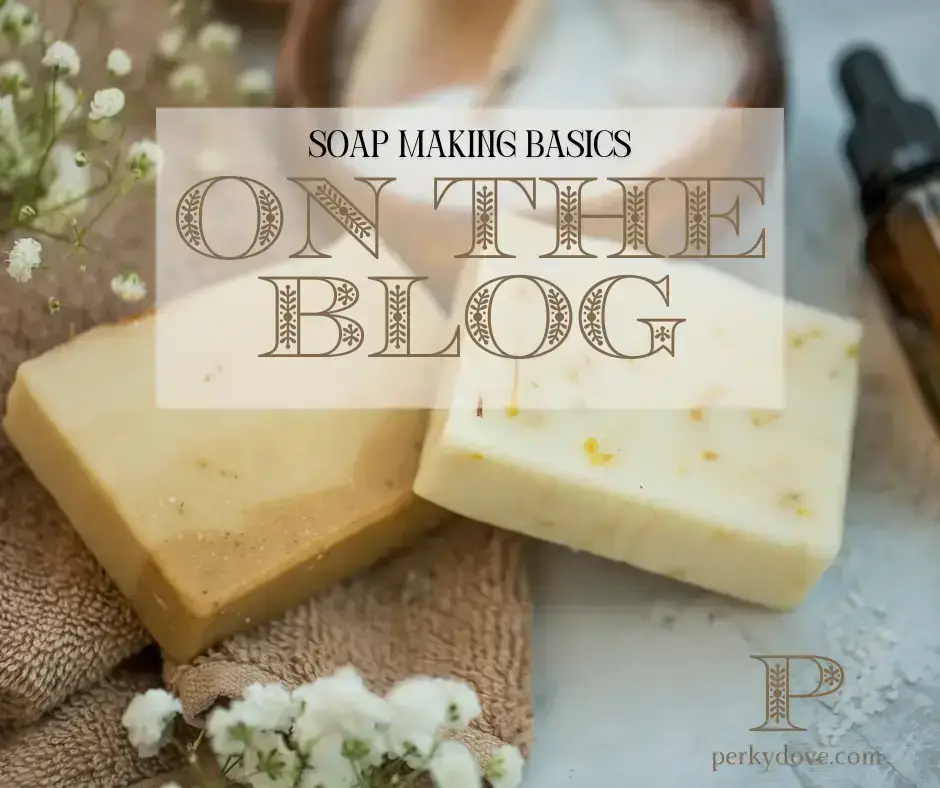
Soap Making Basics: A Step-by-Step Guide
Homesteading is all about being resourceful and self-sufficient, and two traditional skills that perfectly fit this lifestyle are soap making and candle dipping. Not only are these activities rewarding, but they also allow you to create natural, chemical-free products that are both useful and beautiful. Let’s dive into how you can easily make your own soap and hand-dipped candles at home!
DIY Supplies for Adults and Kids. Includes 2.4 lbs. Soap Base, 4 Fragrance Oils & Colors, Wrappers, Silicone Molds for Impressive Melt & Pour Bars
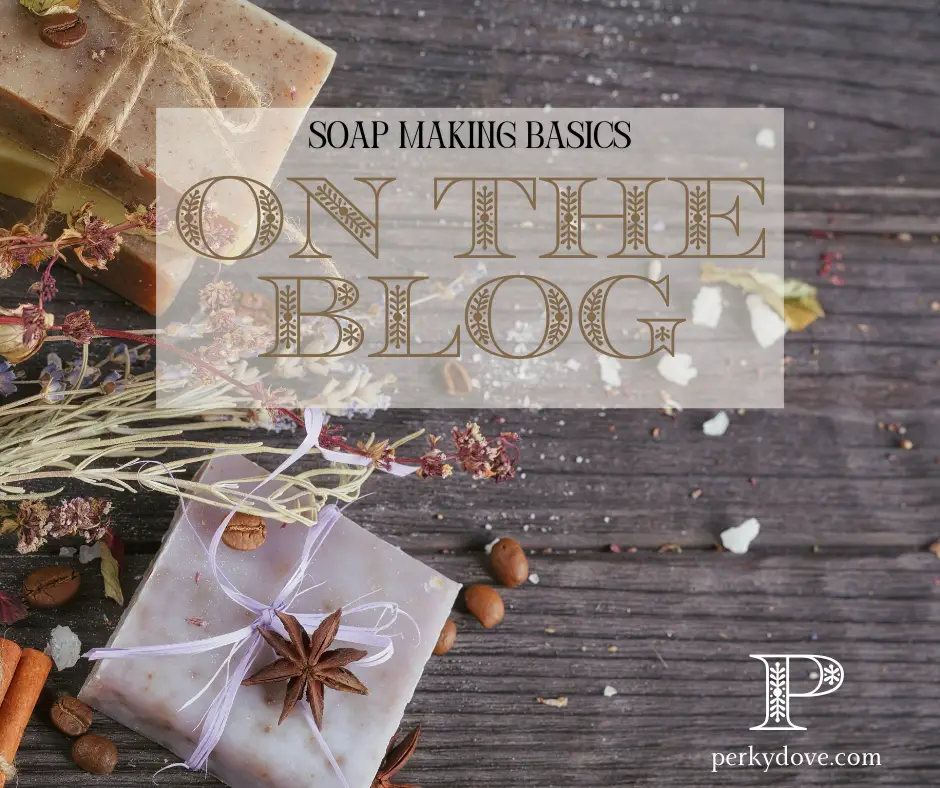
Soap Making Basics: A Step-by-Step Guide
Materials Needed:
- Lye (found in hardware stores or online)
- Oils (coconut, olive, or a blend of your choice)
- Essential oils (optional, for scent)
- Soap molds
- Safety gear: gloves, goggles, and a well-ventilated space
MYMERRY Soap Making Kit for Adults, DIY Soap Making Kit includes 2lbs Soap Base, Soap Mold, Cutter, Shimmery Color Block, Essential Oil, Jojoba Beads to Makeup Your Own Soap
Step 1: Prepare the Lye Solution
Lye is strong, so always wear gloves and goggles when handling it. Carefully mix lye with water (following instructions on the package). Let it cool down while you prepare the oils.
Step 2: Heat the Oils
In a separate container, heat your chosen oils (like coconut or olive oil) until they reach about 100°F (38°C).
Step 3: Mix Lye and Oils
Slowly add the lye solution to the oils, stirring constantly. You can use a stick blender to speed up the process until it reaches a consistency like pudding (this is called “trace”).
Step 4: Add Essential Oils (Optional)
Now’s the time to add any scents, like lavender or citrus, if you’d like to personalize your soap.
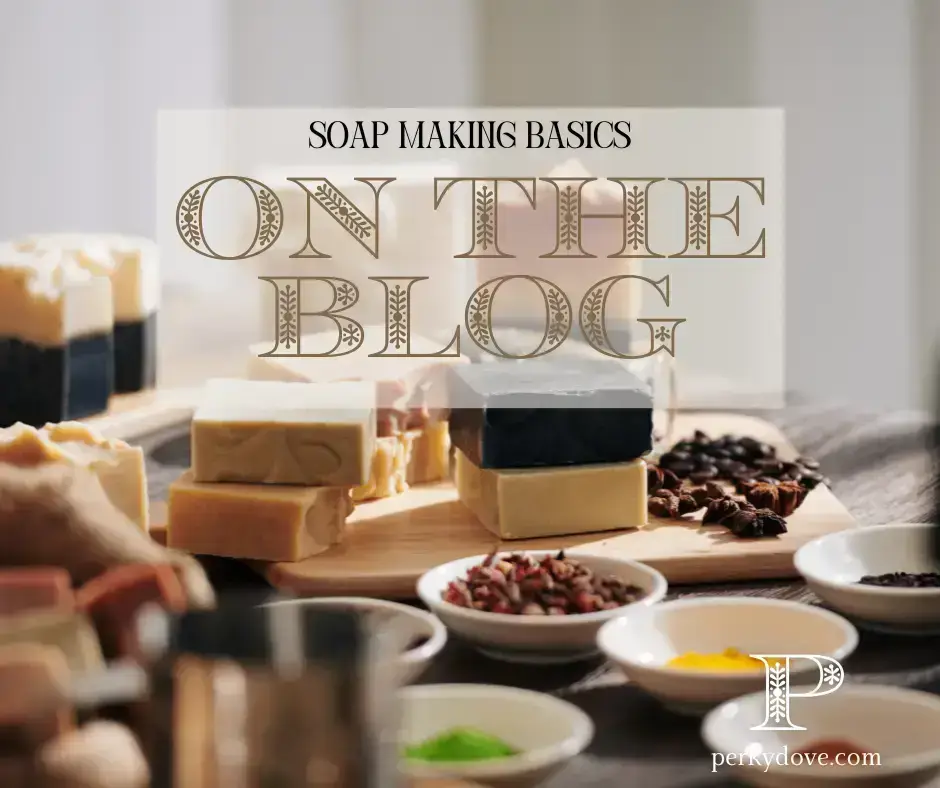
Do-It-Yourself Soaps Using All-Natural Herbs, Spices, and Essential Oils
Step 5: Pour into Molds
Pour the mixture into your soap molds. Let them sit for 24–48 hours, or until the soap has hardened.
Step 6: Cure the Soap
Once hardened, remove the soap from the molds and let it cure for 4–6 weeks in a cool, dry place. This allows the soap to fully set and become ready to use.
Candle Dipping Basics: A Step-by-Step Guide
Materials Needed:
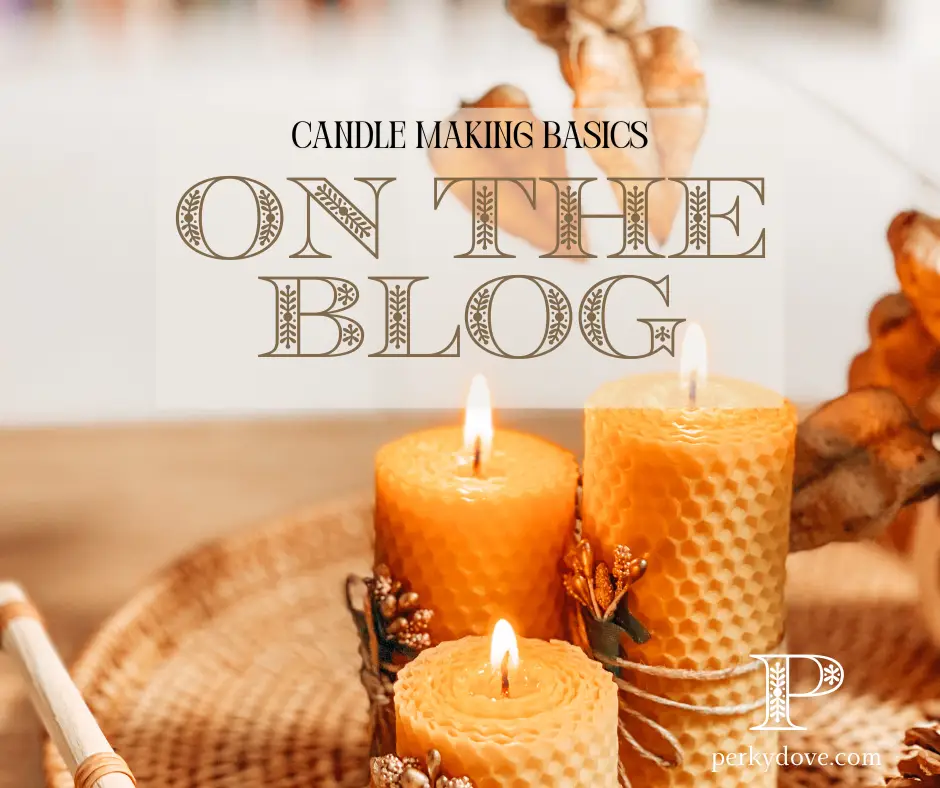
- Beeswax or soy wax
- Candle wicks (pre-cut to your desired length)
- A dipping pot (or a double boiler)
- Essential oils (optional, for scent)
- A place to hang the candles to dry
Soft Owl Premium Soy Candle Making Kit - Full Set - Soy Wax, Big 7oz Jars & Tins, 7 Pleasant Scents, Color Dyes & More - Perfect as Home Decorations - DIY Starter Scented Candles Making Kit
Step 1: Melt the Wax
Using a double boiler or a dipping pot, melt your beeswax or soy wax until it’s fully liquid. Keep it at a steady temperature.
Step 2: Prepare the Wick
Cut your wick to the desired length (long enough for a candle, plus a bit extra for holding). Attach a small weight to the bottom to keep it straight while dipping.
Step 3: Dip the Wick into Wax
Hold the wick by the top and dip it into the melted wax, then pull it out slowly. Let it cool for a few seconds, and repeat the process. Each dip adds a layer of wax to the candle.
Step 4: Continue Dipping
Continue dipping and cooling the candle until it reaches the thickness you want. This will take about 20–30 dips.
Step 5: Add Scent (Optional)
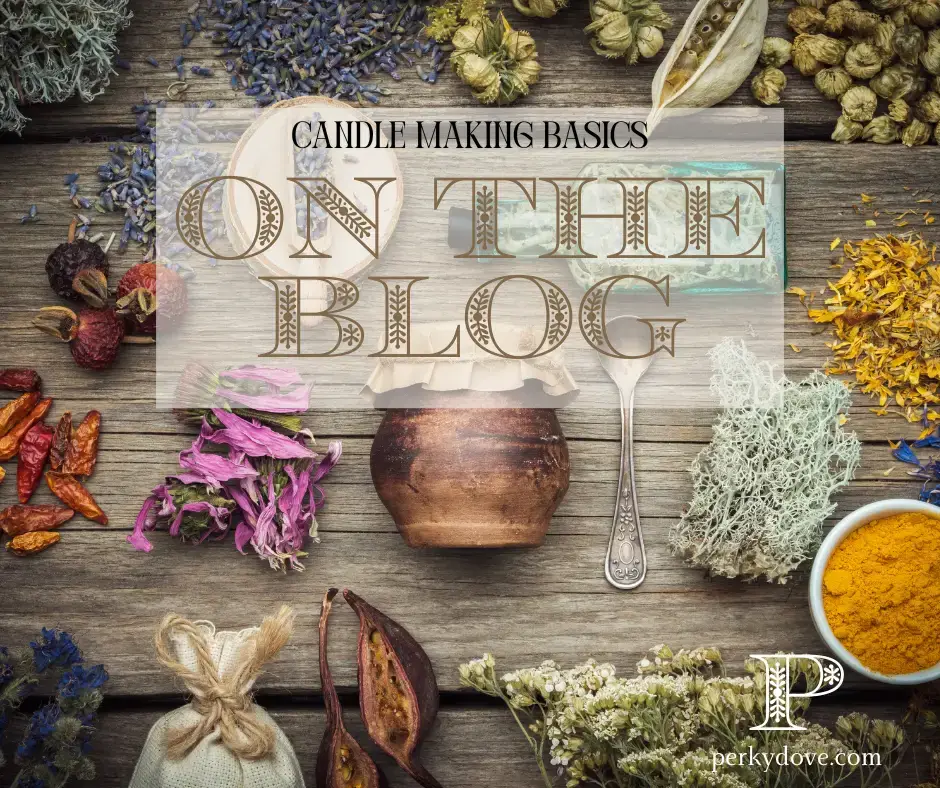
If you’d like to add essential oils for scent, mix them into the melted wax after the last few dips.
Autumn Essential Oils for Diffusers for Home, CAKKI Fragrance Oils Set, 6 Fall Scents, Natural Aromatherapy Oils, for Candles Making, for Soaps Making, for Humidifiers, 6x10 ml
Step 6: Hang to Dry
Once the candle is thick enough, hang it in a cool place to dry completely.
Why These Skills Matter in Modern Homesteading
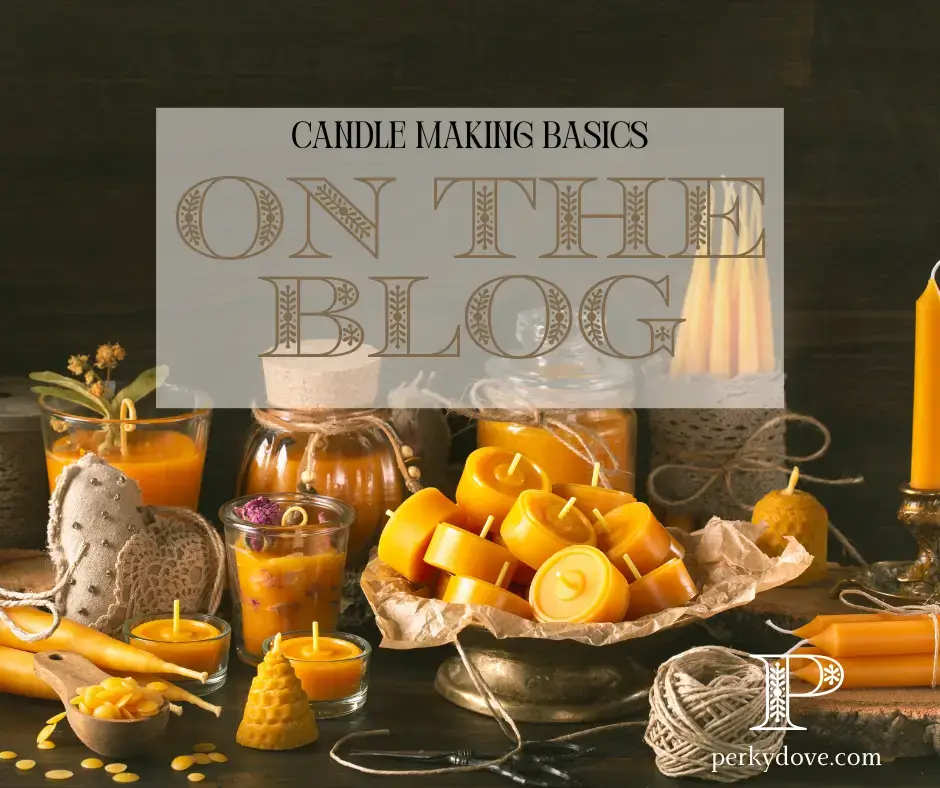
Making your own soap and candles at home is not only cost-effective, but it’s also healthier for you and your family. You have complete control over the ingredients, which means no harmful chemicals or additives. Plus, the satisfaction of creating something from scratch is unbeatable!
Final Thoughts:
Soap making and candle dipping are easy and fun ways to incorporate traditional skills into your modern homestead. Whether you’re looking for eco-friendly alternatives to store-bought products or just want to try something new, these projects are a perfect start. Give them a try and enjoy the rewards of homemade goods!
